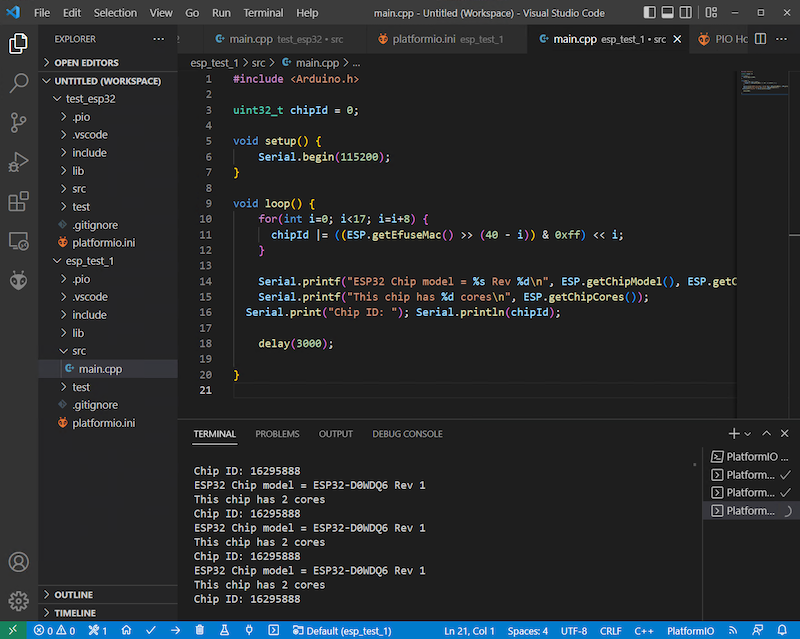
ESP32 and VSCode
This is a tutorial to manage ESP32 board by means the Microsoft Visual Studio Code (we assume the VS Code IDE has been already installed). the tutorial foresees three steps:
- Add the PlatformIO IDE extension to VS Code
- Create a new project
- Build and download the project to the ESP32 board
STEP 1: Add the PlatformIO extension
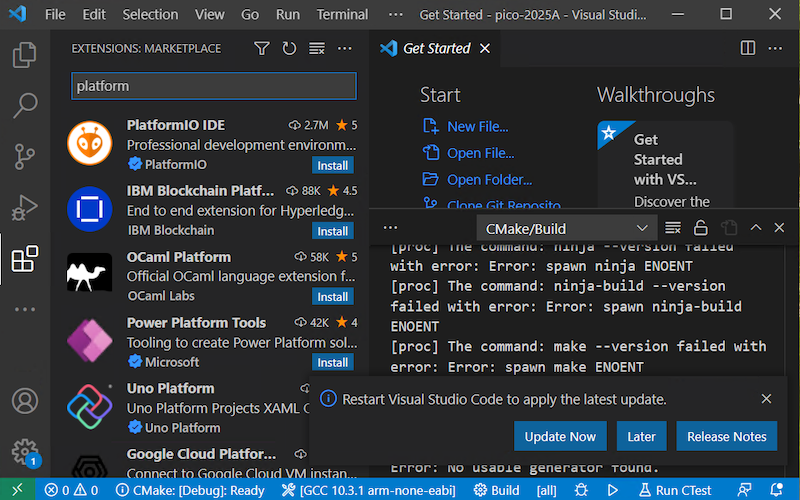
Open Extension panel and look for platform; The Platform IDE will show up: press the install button.
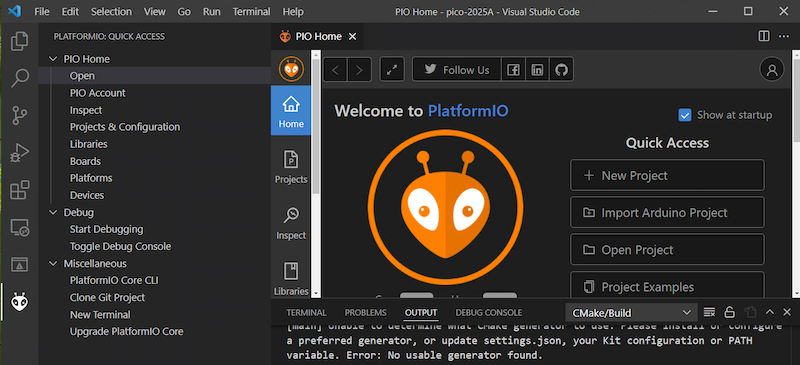
Open the Welcome panel clicking on the PlatformIO icon
STEP 2: create a new project
Fill the Quick Access form adding the Project Name and selecting the ESP board (in our case the Espressif ESP32 Dev MODULE)
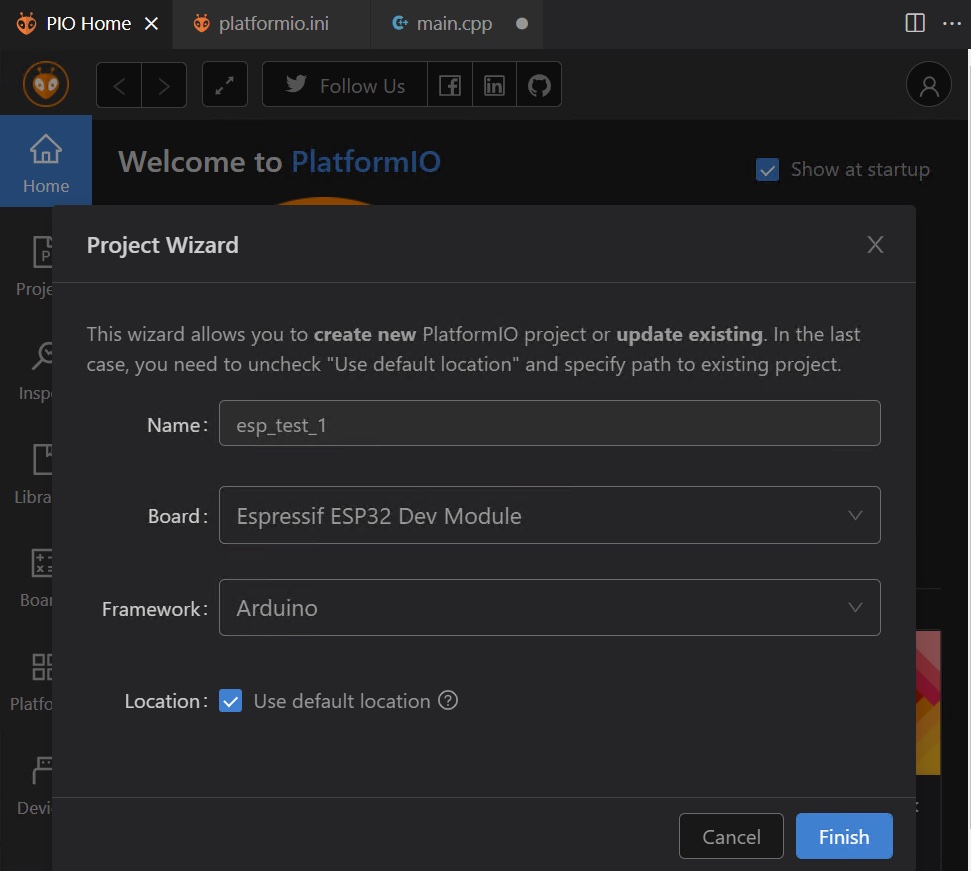
click “Finish” button; the system will take a while to prepare the environment.
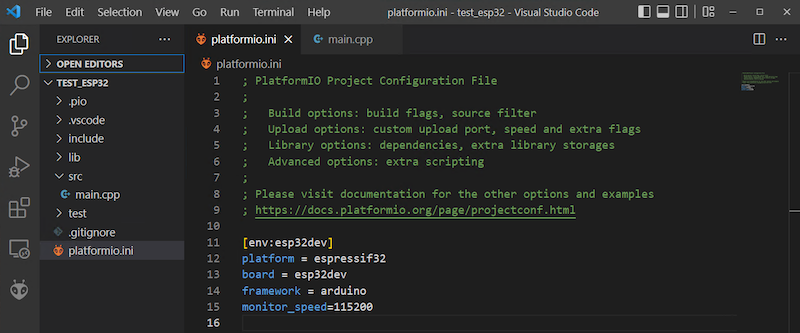
STEP 3: Build and download the project to the ESP32 board
Using the Arduino IDE open the GetChipId example copy and past on the VScode main.cpp (a copy of the example is also available below); finally build the project and download to the ESP32 board. Open the Serial Monitor to see the output.
